Python使用XML操作mapnik,实现复杂标注(Multi line text symbolizer)
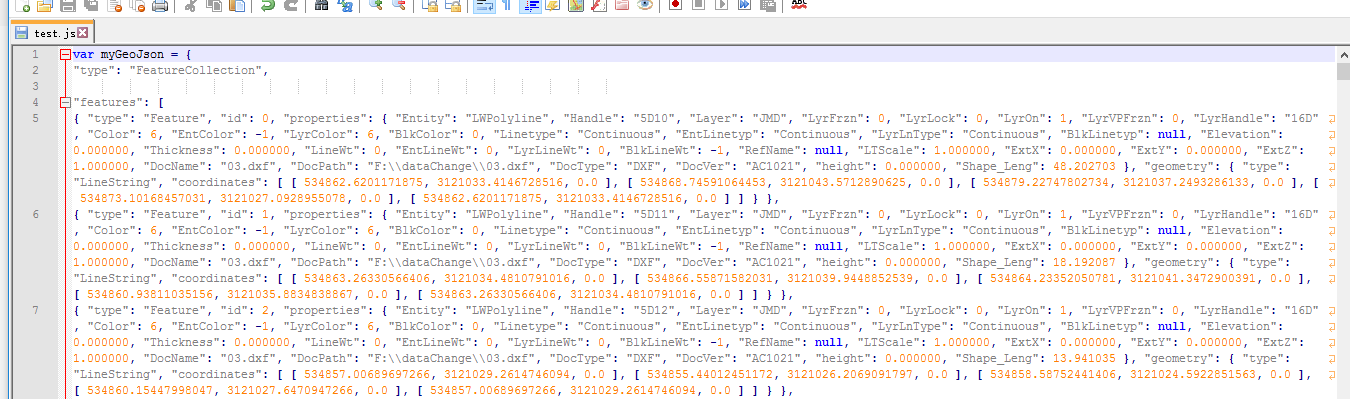
test.py
import mapnik
stylesheet = 'world_style.xml'
image = 'world_style.png'
m = mapnik.Map(1200, 800)
mapnik.load_map(m, stylesheet)
m.zoom_all()
mapnik.render_to_file(m, image)
print "rendered image to '%s'" % image
world_style.xml
<Map background-color="#c4dff6" srs="+proj=merc +a=6378137 +b=6378137 +lat_ts=0.0 +lon_0=0.0 +x_0=0.0 +y_0=0.0 +k=1.0 +units=m +nadgrids=@null +wktext +no_defs +over" font-directory="./fonts" maximum-extent="-20037508.34,-20037508.34,20037508.34,20037508.34">
<Style name="My Style">
<Rule>
<!-- 复杂标注 -->
<TextSymbolizer face-name="DejaVu Sans Bold" size="12" placement="point" dy="3" wrap-width="35" allow-overlap="0">
[NAME]+'-'+[LEVEL]
++' '<Format face-name="DejaVu Sans Oblique" size="9">'-'</Format>
+' '<Format face-name="DejaVu Sans Oblique" size="9">'('+[POSTAL]+')'+'-'+[LabelRank]</Format>
</TextSymbolizer>
</Rule>
</Style>
<Layer name="world" srs="+proj=longlat +ellps=WGS84 +datum=WGS84 +no_defs">
<StyleName>My Style</StyleName>
<Datasource>
<Parameter name="type">shape</Parameter>
<Parameter name="file">ne_110m_admin_0_countries.shp</Parameter>
</Datasource>
</Layer>
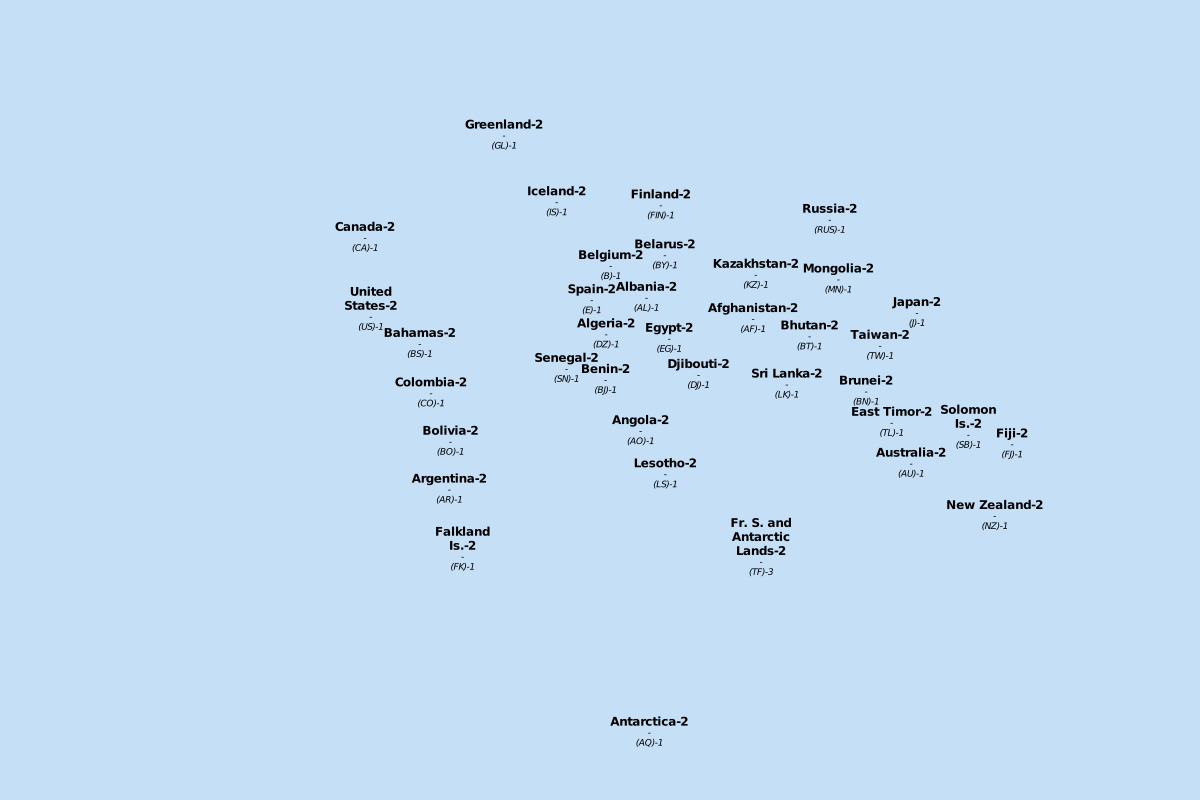
</Map>效果图:
参考:

http://blog.csdn.net/u010924834/article/details/56291059
http://mapnik.org/news/text_formating
https://github.com/mapnik/mapnik/issues/3158
转载自:https://blog.csdn.net/t514263710/article/details/70173137