Ubuntu14.04安裝PostgreSQL9.5+3DCityDB_v3.3.1+3dcitydb-web-map-client
目录
环境要求:
- OS: Ubuntu >= 14.04
- PostgreSQL >= 9.1
- PostGIS extension >= 2.0
- JDK >= 1.8
安裝JDK
需要注意, 3DCityDB需要JDK>=1.8的版本
-
配置環境變量
vim /etc/profile # for jdk environment export JAVA_HOME=/opt/jdk1.8.0_131 export JRE_HOME=$JAVA_HOME/jre export CLASSPATH=.:$JAVA_HOME/lib:$JRE_HOME/lib:$CLASSPATH export PATH=$PATH:$JAVA_HOME/bin:$JRE_HOME/bin -
使環境變量生效
source /etc/profile
安裝PostgreSQL9.5+PostGis2.2
這裏我使用圖形用戶界面安裝, 並沒有用命令行. 可以從這裏下載到安裝包, 選擇對應的版本
安裝過程比較簡單, 但有幾處地方需要注意:
-
給安裝文件賦予權限
sudo chmod u+x postgresql-9.5.7-1-linux-x64.run ./postgresql-9.5.7-1-linux-x64.run -
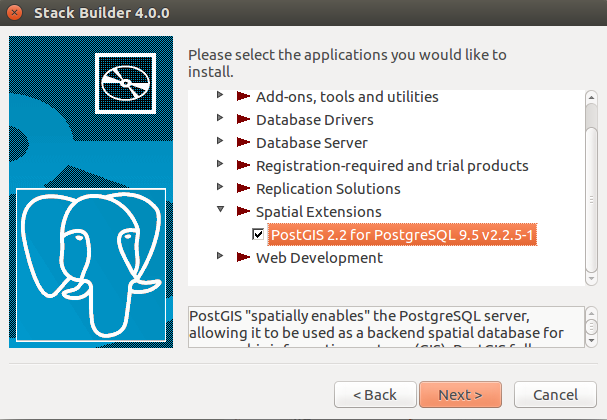
下面這個勾選一下, 會自動下載相應的PostGis
-
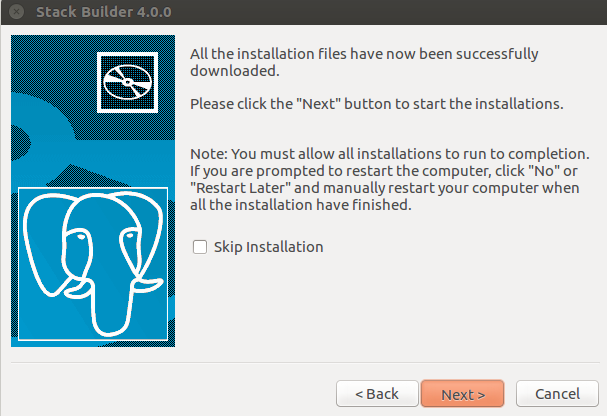
不要勾選, 他會自動安裝PostGis
配置PostgreSQL
-
修改pg_hba.conf, 將md5改成trust
vim /opt/PostgreSQL/9.5/data/pg_hba.conf
-
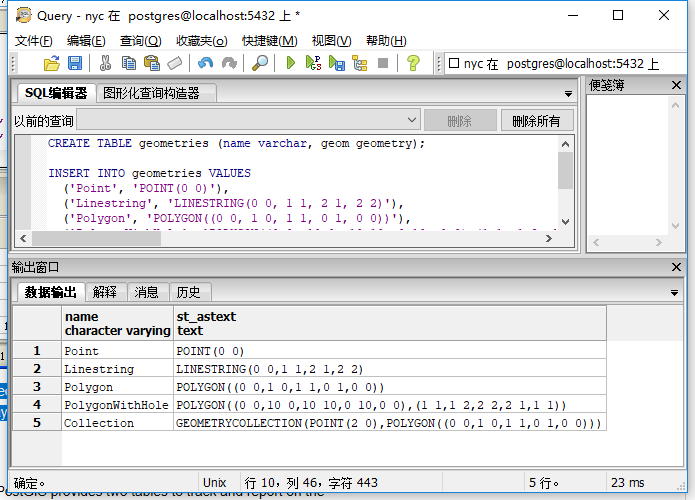
創建數據庫
PostgreSQL安裝完成之後, 會自動的創建一個postgres用戶, 我在這個用戶之上進行操作(當然也能創建別的用戶)$ psql -U postgres -p 5432 -h localhost 此時需要輸入在安裝PostgreSQL時設置的密碼 //在postgres用戶中創建citytestdb數據庫 postgres=# CREATE DATABASE citytestdb OWNER postgres; //從默認的postgres數據庫切換到citytestdb數據庫 postgres=# \c citytestdb citytestdb=# //可以查看一下目前的連接狀態 citytestdb=# \conninfo You are connected to database "citytestdb" as user "postgres" on host "localhost" at port "5432". //爲citytestdb數據庫創建postgis擴展 citytestdb=# create extension postgis; //檢驗postgis是否安裝成功 citytestdb=# select postgis_full_version(); -
postgresql常用操作
postgresql的常用操作可以參考這裏:
https://mozillazg.github.io/2014/06/hello-postgresql.html
安裝3DCityDB-Importer-Exporter
可以從這裏下載到安裝包. 安裝包是一個jar包
-
安裝3DCityDB
java -jar 3DCityDB-Importer-Exporter-3.3.1-Setup.jar -
爲3DCityDB執行創建數據庫腳本CREATE_DB.sh
vim 3DCityDB-Importer-Exporter/3dcitydb/postgresql/CREATE_DB.sh //修改其中的一些內容爲 export PGPORT=5432 export PGHOST=localhost export PGUSER=postgres export CITYDB=citytestdb export PGBIN=/opt/PostgreSQL/9.5/bin //執行腳本 sudo sh CREATE_DB.sh -
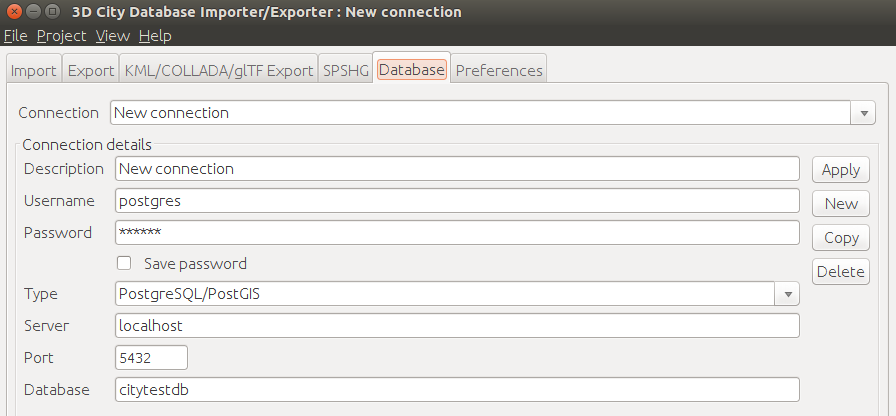
將3DCityDB與PostgreSQL相連
-
導入citygml
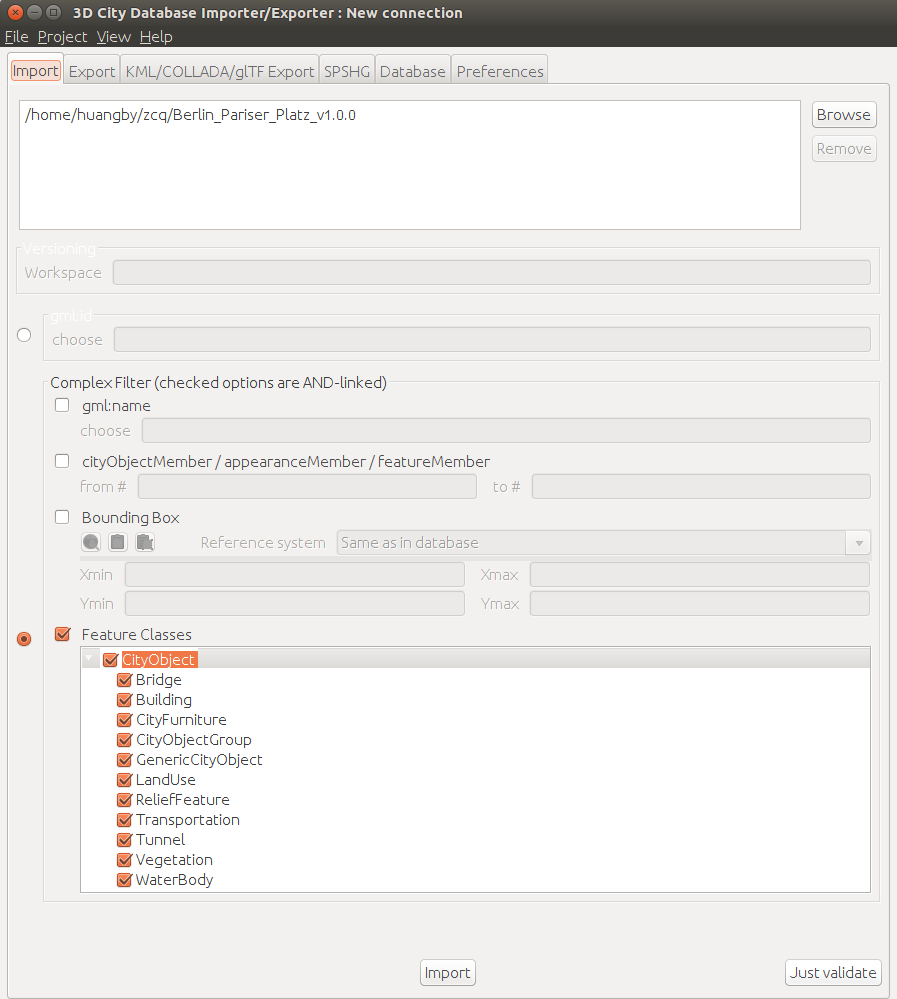
-
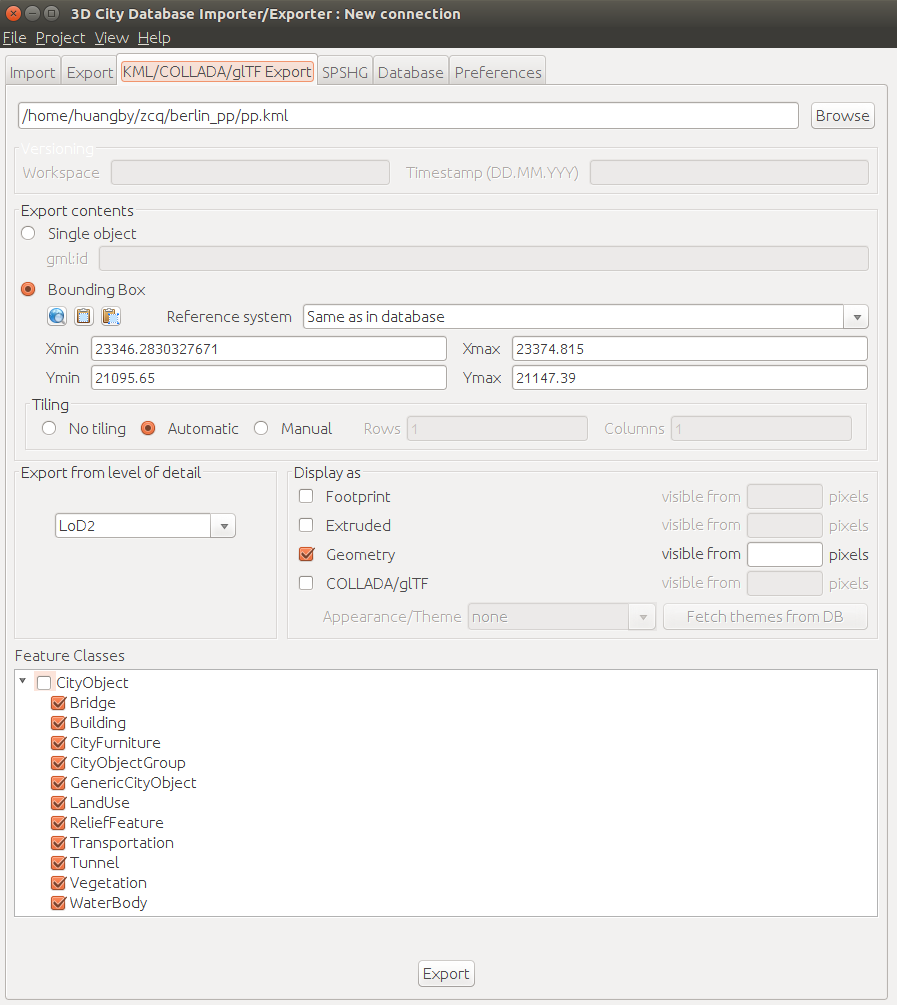
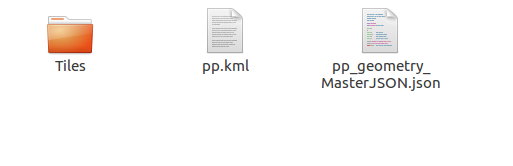
導出KML/COLLADA /glTF
導出成功之後會伴隨產生這些文件
安裝3dcitydb-web-map-client
可以從這裏下載, 是一個js應用, 但是基於nodejs的.
-
首先需要安裝nodejs
從這裏下載nodejs, 我選擇的是V6.10.3版本//爲node創建軟連接 sudo ln -s /home/huangby/node-v6.10.3-linux-x64/bin/node /usr/bin/node sudo ln -s /home/huangby/node-v6.10.3-linux-x64/bin/npm /usr/bin/npm //驗證node和npm是否安裝成功 node -v npm -v - 只需解壓3dcitydb-web-map.zip即可
-
啓動 3dcitydb-web-map服務
cd 3dcitydb-web-map-1.1.0/ node server.js -
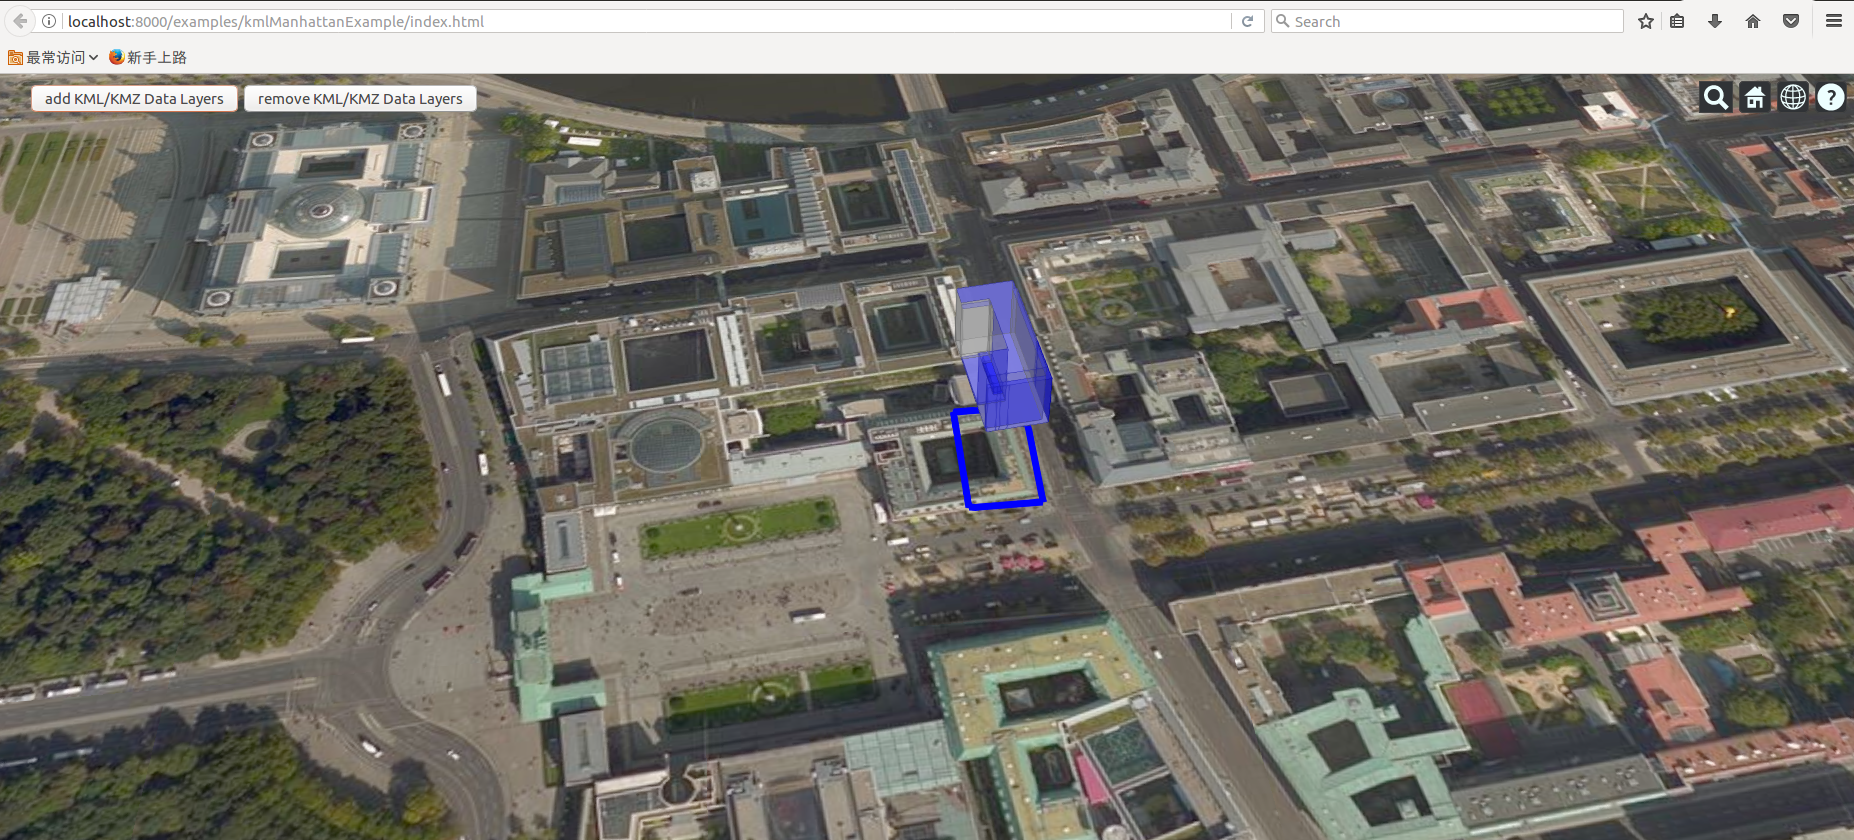
用剛才導出的數據可視化結果
UPDATE
使用osmosis工具导入osm到PostgreSQL
可以从这里下载osmosis工具, 直接解压即可
-
添加软链接
sudo ln -s osmosis-latest/bin/osmosis /usr/bin/osmosis -
在PostgreSQL上为其安装扩展
$ psql -U postgres -p 5432 -h localhost 此時需要輸入在安裝PostgreSQL時設置的密碼 //在postgres用戶中新建一个存放osm的数据库 postgres=# CREATE DATABASE osmtestdb OWNER postgres; //從默認的postgres數據庫切換到osmtestdb數據庫 postgres=# \c osmtestdb osmtestdb=# //安装扩展 osmtestdb=# create extension postgis; osmtestdb=# create extension hstore; -
为方便操作PostgreSQL, 安装一下pgadmin3图形用户界面
sudo apt-get install pgadmin3 -
启动pgadmin3
//启动pgadmin3 $ pgadmin3 //执行pgsnapshot_schema_0.6.sql 在osmtestdb上点击SQL查询按钮, 点击文件->打开 pgsnapshot_schema_0.6.sql(该文件在osmosis安装目录osmosis\script下) -> 执行 -
导入osm到PostgreSQL
$ osmosis --read-xml nantong.osm --write-pgsql database="osmtestdb" user="postgres"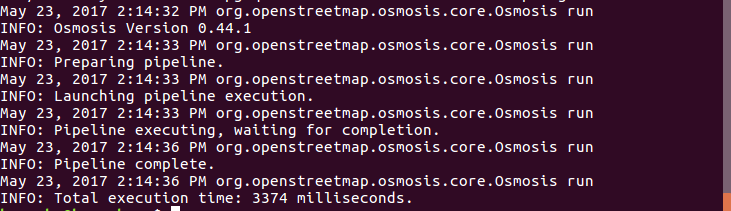
导入成功了!
BINGO~~
参考
http://m.www.cnblogs.com/iken/p/4438872.html
转载自:https://blog.csdn.net/predict_wise/article/details/72598370