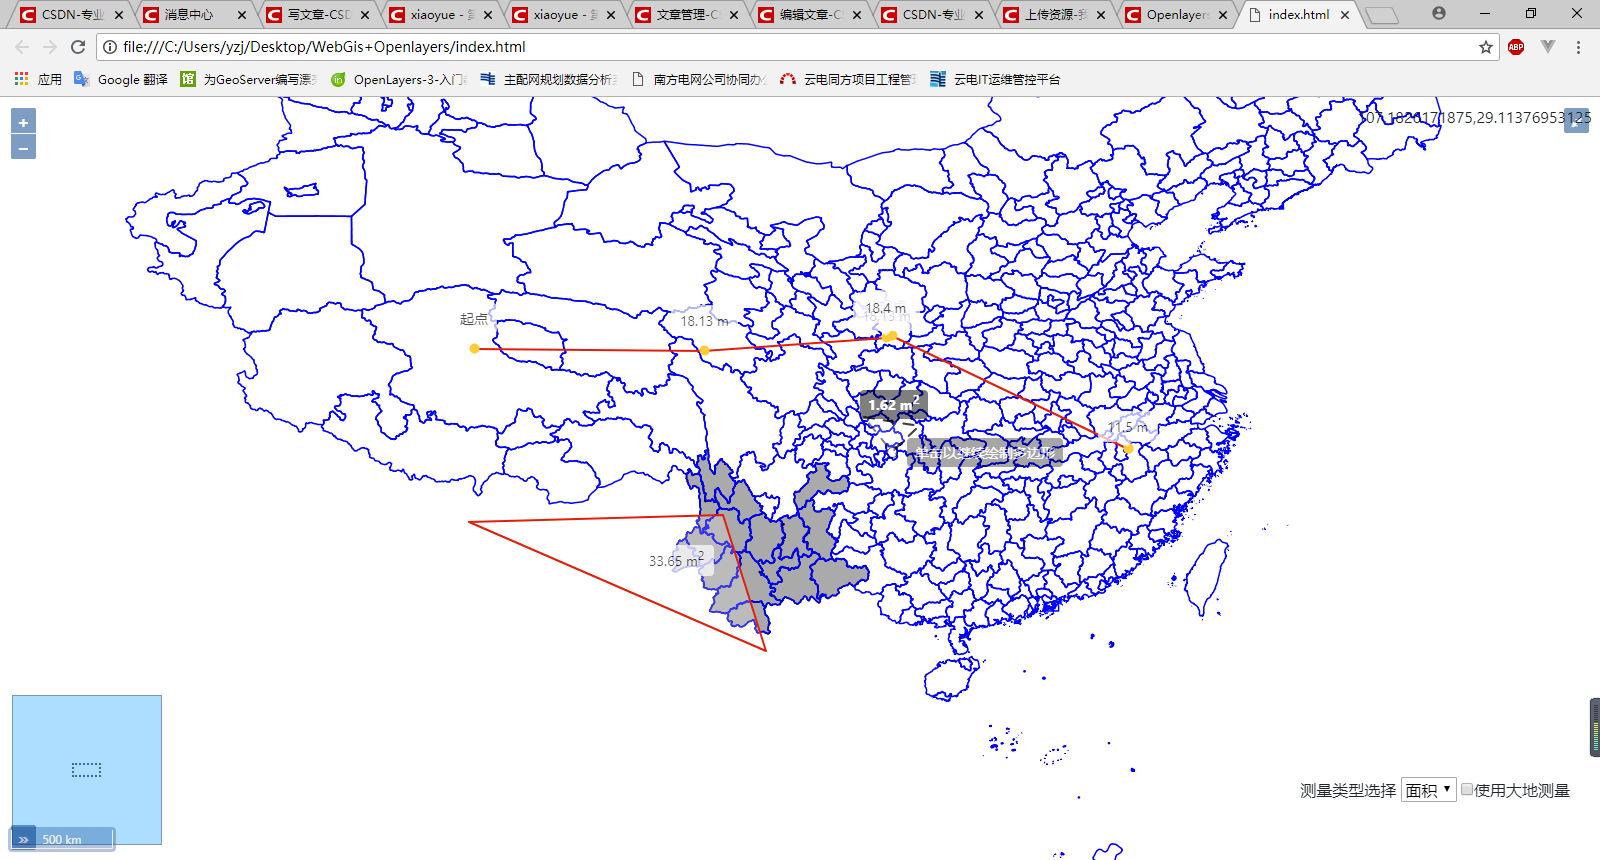
openstreetmap use example 2
Deploy an OpenStreetMap slippymap on my own website
This simple example may help if you are Deploying your own Slippy Map. This DHTML snippit will bring in the OpenLayers javascript library and use it to show an OSM map!
Contents [hide]
1 Note: OpenStreetMap is serving the tile images
2 Instructions
2.1 Extensions
2.1.1 Bespoke
3 Develop this example?
4 Related
Note: OpenStreetMap is serving the tile images
Please note that tile images are coming from the OpenStreetMap servers. Although OSM are supporting this kind of usage at the moment, we offer no guarantees. There may be downtime (planned or unplanned), and tile URLs may change.
If you are expecting heavy user load, then you should discuss with everyone first (Contact). You should consider following the other instructions on the “Deploying your own Slippy Map” page, to render and host your own tile images, or set up your own squid cache for tiles. This will reduce the dependency for you, and will ease bandwidth usage for the OSM servers.
Of course the images themselves (our maps) change over time too, not necessarily for the better.
Instructions
Example result
Copy the following into a new HTML file, and view it in a browser.
<html>
<head>
<title>OpenStreetMap</title>
<!– bring in the OpenLayers javascript library
(here we bring it from the remote site, but you could
easily serve up this javascript yourself) –>
<script src=”http://www.openlayers.org/api/OpenLayers.js”></script>
<!– bring in the OpenStreetMap OpenLayers layers.
Using this hosted file will make sure we are kept up
to date with any necessary changes –>
<script src=”http://www.openstreetmap.org/openlayers/OpenStreetMap.js”></script>
<script type=”text/javascript”>
// Start position for the map (hardcoded here for simplicity)
var lat=51.508;
var lon=-0.118;
var zoom=13;
var map; //complex object of type OpenLayers.Map
//Initialise the ‘map’ object
function init() {
map = new OpenLayers.Map (“map”, {
controls:[
new OpenLayers.Control.Navigation(),
new OpenLayers.Control.PanZoomBar(),
new OpenLayers.Control.Attribution()],
maxExtent: new OpenLayers.Bounds(-20037508.34,-20037508.34,20037508.34,20037508.34),
maxResolution: 156543.0399,
numZoomLevels: 19,
units: ‘m’,
projection: new OpenLayers.Projection(“EPSG:900913”),
displayProjection: new OpenLayers.Projection(“EPSG:4326”)
} );
// Define the map layer
// Other defined layers are OpenLayers.Layer.OSM.Mapnik, OpenLayers.Layer.OSM.Maplint and OpenLayers.Layer.OSM.CycleMap
layerTilesAtHome = new OpenLayers.Layer.OSM.Osmarender(“Osmarender”);
map.addLayer(layerTilesAtHome);
if( ! map.getCenter() ){
var lonLat = new OpenLayers.LonLat(lon, lat).transform(new OpenLayers.Projection(“EPSG:4326”), map.getProjectionObject());
map.setCenter (lonLat, zoom);
}
}
</script>
</head>
<!– body.onload is called once the page is loaded (call the ‘init’ function) –>
<body onload=”init();”>
<!– define a DIV into which the map will appear. Make it take up the whole window –>
<div style=”width:100%; height:100%” id=”map”></div>
</body>
</html>Extensions
[color=red]Bespoke
If you are deploying your own tile images (for example, with Mapnik), just use the layer definition below:
var newLayer = new OpenLayers.Layer.OSM(“New Layer”, “URL_TO_TILES/${z}/${x}/${y}.png”, {numZoomLevels: 19});
map.addLayer(newLayer);Important! Please note the addition of /${z}/${x}/${y}.png to the URL, this has been required since the 27th June 2009.
Change the url and numZoomLevels as appropriate. [/color]
转载自:https://blog.csdn.net/zscomehuyue/article/details/83604183


